Quests: what they are and how to create them
Quests are missions or tasks that users can complete within interactive virtual worlds. This concept is very common in video games and is also found in your virtual world.
In order for a user to participate in a Quest, it must be activated by talking to an NPC.
To implement a Quest in your scene, you'll need to follow three main steps:
Create the Quest
Add an NPC to the scene
Set up the activation of the quest within the NPC's conversation.
The user can then choose to participate in the quest by talking to the NPC.
Here's a simple example:
- The user interacts with the NPC by pressing E and initiating the conversation. - NPC: "Welcome! Would you like to join the quest?" - At this point, the user can choose to click the "Yes!" button or "No, thank you!" (or any other form you decide to use in the conversation). - If the user clicks "Yes!" and the conversation with the NPC is correctly set to start the quest under those conditions, the quest will start! NOTE: Quests will soon be available on lands as well as spaces!
Create a Quest
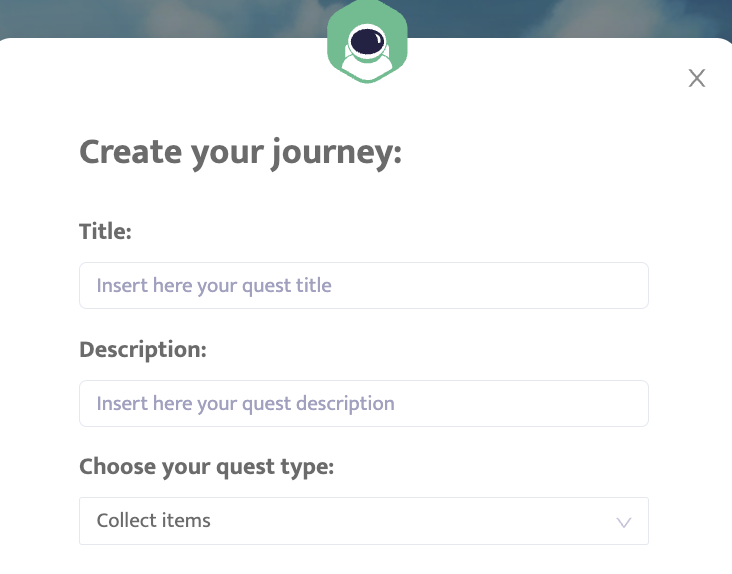
To create a quest, simply click on the green 'Quests' button at the top of the screen, and then click on the 'Create New Quest' button that will appear in the centre of the screen.
At this point, you can give your quest a name and description, and select its type based on the type of quest you want to create, as we'll see shortly.

Once you have filled in the Title, Description and Quest Type fields, you will find yourself at this stage (in the example, a CollectItems quest type):

From here, you can choose to edit the information you just entered (such as the title and description) by clicking on 'Edit Info', delete the quest by clicking on 'Delete', or continue to define its details by clicking on 'Edit Quest'.
Important: Remember to set the quest to 'Active' if you want it to be operational!
Currently available quest types include 'Treasure Hunt' and 'Follow the Path' quests, with and without timers (new quest types will be available soon, follow us on social channels to stay updated)!
In both cases, the concept is the same: once the quest starts, the participating user must approach and get close to the objects you have chosen to include in the quest in order to collect them. The quest is completed when all the items have been collected (or within a certain time if you have set a timer).
Treasure Hunt
To set up a treasure hunt, choose 'CollectItems' as the quest type. In this quest, all the items you select will appear simultaneously at the start of the quest, placed in the locations you select in the scene.
You can collect them in any order you like - the only requirement to complete the quest is to collect them all!
Once you have created the 'base', click on 'Edit Quest' to decide which items you want to use in your quest and how you want to arrange them.
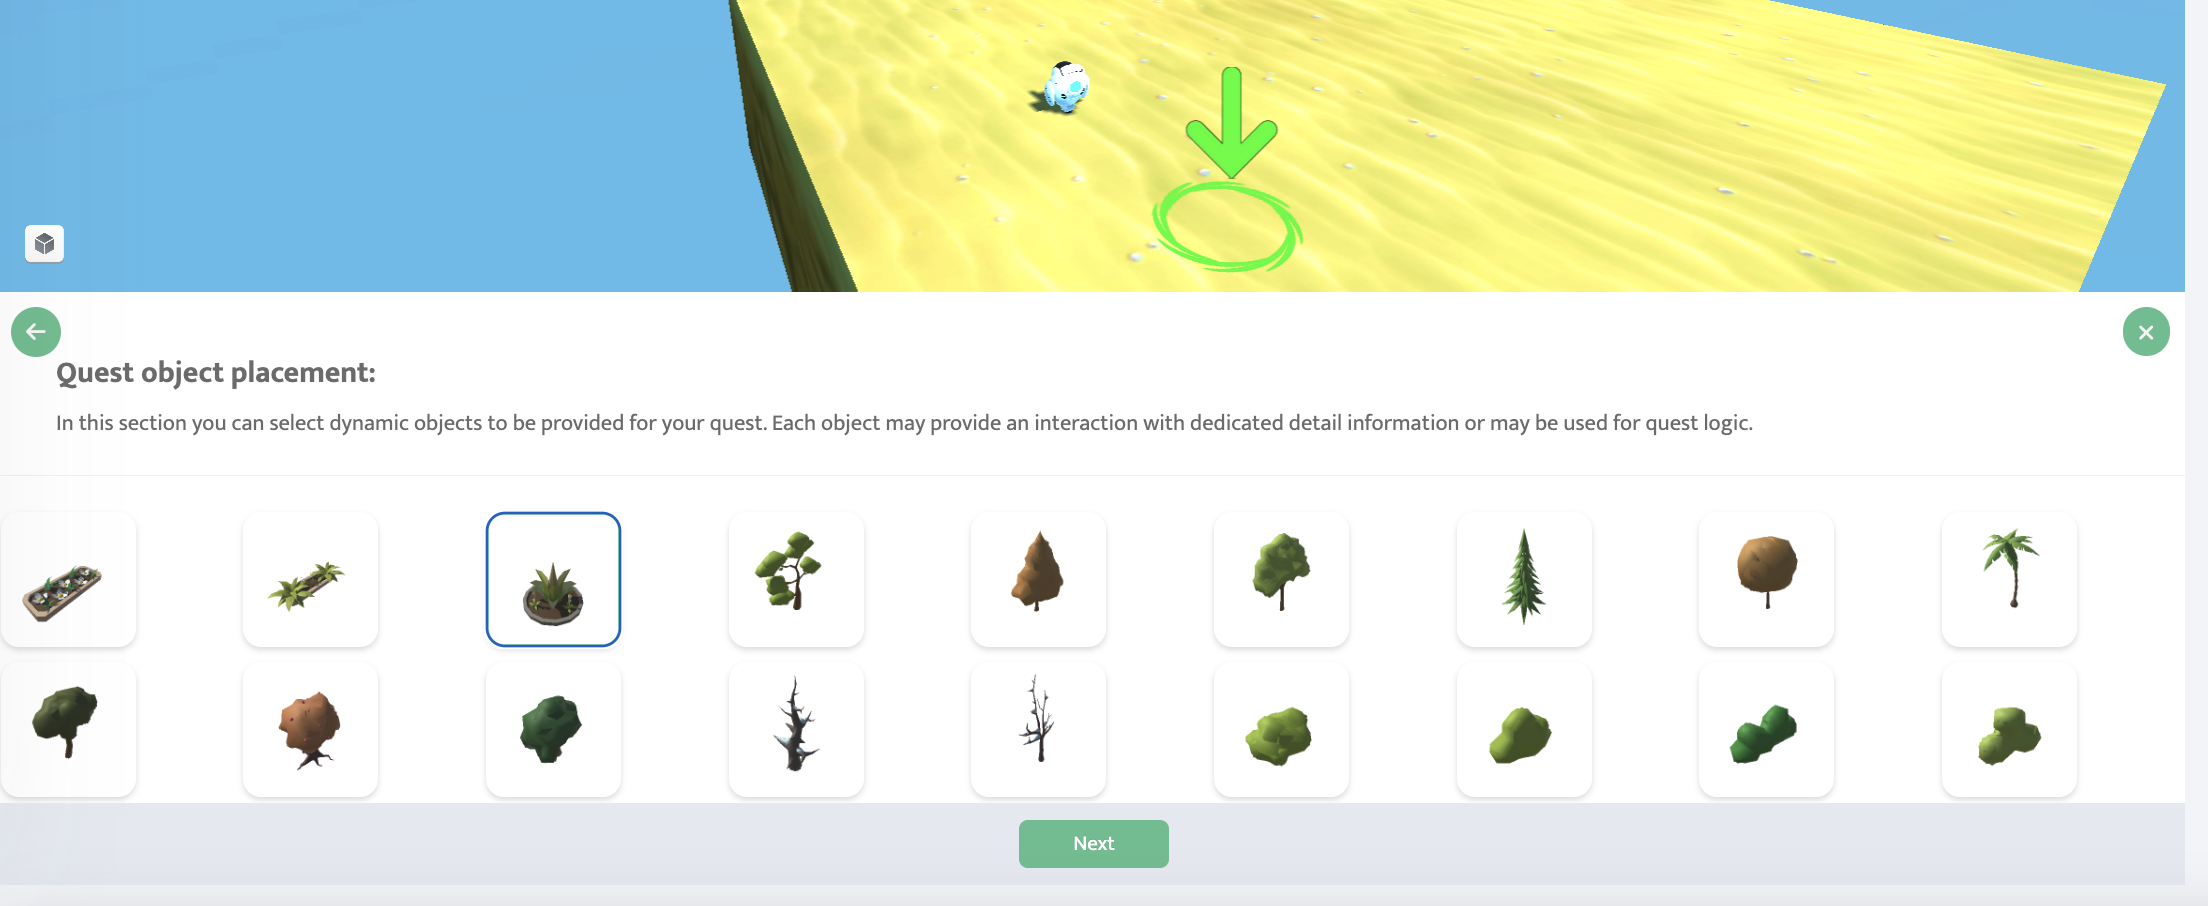
Choose whether you want to use items such as 'Tiles', 'Nature', 'Furniture' or 'Decorations', then click 'Next' and select the single items you want to use.

In the example below, we have chosen a 'Circle Flower Bed' of type 'Nature', and we are going to place it in the scene.

Choose how many items you want and place them wherever you prefer within your scene (you can also use different types of items).
Once you have positioned all the items that you want users to collect during the quest, click on Next. At this point, you can set up an interaction with each of the objects you have placed. This means that when a user touches or passes over an object, you can show them an iframe with the content of a web page, just like with other objects placed in the scene outside of the quest, as explained HERE.
Now, click on Next and proceed to set up the 'Variables', which are crucial for the proper functioning of the Quest.
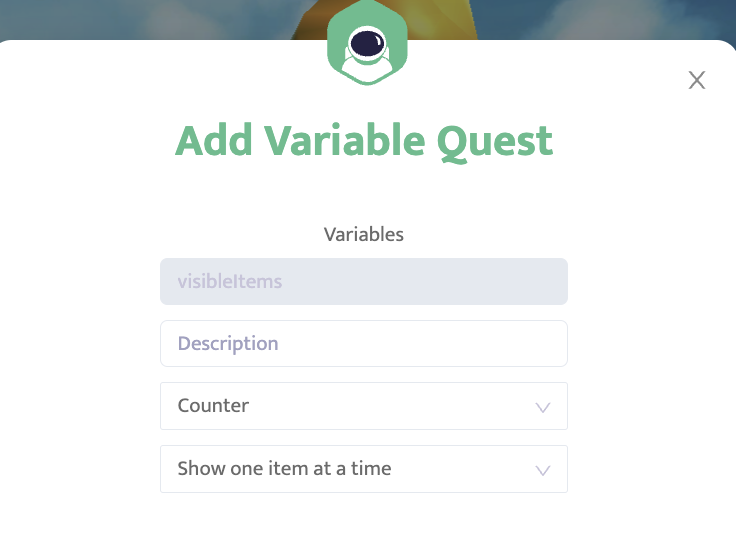
Click on 'Add Variable' to set additional details in your quest, such as the presence or absence of a timer.

Note: The description must not contain any spaces.
The first drop down menu allows you to choose between 'Counter' and 'Countdown'.
Counter simply indicates that the quest will end when all items have been collected, and during the quest users will see a counter showing how many items remain to be gathered. You can also choose to have the items appear all at once (as in a treasure hunt) or one at a time (as in a 'follow the path' quest). (In the case of a treasure hunt, it is not necessary to set a Counter variable: you can choose not to set any variables and the items will appear all at once).
Instead, you can add a Countdown variable to require users to collect all the items within a specified time to complete the quest. Click Ok and then Next at this point. Click Next again on the next screen, 'Quest actor placement', and then click Done on the final screen, 'Quest actor conversation', as the activation of the quest in this case will be managed by an NPC external to the quest and its conversation, as explained in the next paragraph.
Congratulations, you have created your first quest! Now all you have to do is set it up to be activated by an NPC, but we'll see about that in a moment 😉.
Follow the Path
If you want to implement a 'follow the path' type of quest, choose FollowPath as the quest type.
In this type of quest, the items you select will appear in the scene one at a time, in the order and location you specify. In this case, it is necessary to collect the item that appears in order for the next one to appear (unlike a treasure hunt), so that the user follows the path you have outlined.
Due to the nature of this quest, which is typically used to guide the user along a specific path, it is advisable to place the items not too far apart so that the user can easily see the next one.
The process of creating this type of quest is very similar to that of a treasure hunt. After creating the 'base' quest, you will also need to click 'Edit Quest' to select and position the items you want the players to collect during the quest.
The only real difference is in the 'Variable': in this case you will need to add a Counter variable and set it to 'Show one item at a time'.
As before, add a Countdown if you want your users to collect the items - one at a time in this case - within the time available.
Placing an NPC in the scene
Once the quest has been created, you will need to activate it by having a conversation with an NPC that you will need to place in the scene and whose role will be to manage the quest.
Follow the instructions HERE to add at least one NPC to your scene to use quests: the conversation doesn't necessarily have to be about activating the quest, the topics can vary. What is important is that there is a flow that leads to the activation of the quest itself, if the user chooses to participate in the quest.
Note: The NPC can initiate the quest, but can also end it. They can also give hints on where to find items if the user is unable to find them.
During a quest, if the user resumes the conversation with the NPC by interacting with them, the NPC will respond differently than they did before the quest began. They may also respond differently once the quest has been completed. You determine all aspects of quest management - before, during and after - by setting up the NPC conversation as you wish, including parameters such as Conditions and Effects, as explained in the next section.
Managing Quests through NPC: Condition and Effect
Once you've placed the NPC in the scene and set up its conversation flow as explained HERE, it's time to insert Conditions and Effects into the conversation elements as you see fit, allowing you to manage quests (and more!).
A Condition allows you to enable or disable a particular ItemText or ItemChoice within a narrative. Each time the conversation flow reaches an Item in a Narrative, it checks the Condition associated with that Item. If the condition is not met (for example, the 'Gather Crystals' quest has ended while it's still running or hasn't started yet), then that item will not be displayed to the user, and the conversation flow will continue without displaying it. Conversely, if the condition is met or not defined, the item will be considered, shown to the user, and any set effects will be activated.
Currently, you can set a condition to check whether a quest is active, started, in progress or completed.
An Effect, on the other hand, allows you to set functionality that is activated when the conversation flow reaches a certain point in a narrative (assuming the condition is met or not defined). You can decide to start, stop or mark a quest as completed (successfully or not).

The flexibility of Condition and Effect allows you to manage different situations within the same quest through a single NPC.
For example, you can set up the conversation flow so that the first time a user speaks to an NPC (when the quest hasn't started yet), the NPC asks if the user wants to join the quest. If the user speaks to the NPC again during the quest, the conversation will be different, with the NPC perhaps offering hints on the location of items to be found. Similarly, if the user speaks to the NPC after completing the quest, you can set up a different conversation in which the NPC congratulates the user on completing the quest.
It is therefore vital that you learn how to use Condition and Effect to get the most out of your quests.
In the first example of our simple conversation with the NPC and the 'Collect Items' quest, the start of the quest is set in Narrative Event 2 (its first and only item), which is reached when the user answers 'Yes' to the question 'Do you want to participate in the quest?'


In this case, no conditions have been set, so the only requirement to start the quest is for the user to answer 'Yes', which will allow the conversation flow to reach the Narrative that handles the 'Start Quest' function, thus starting the quest!

NOTE: Whenever you make changes to the conversation flow, remember to click 'Save' on both the individual item you've edited and the conversation as a whole, as well as 'Save Scene' at the top right!
Last updated